
You already have a PDF—a form, contract, or report—and you need to drop a JPEG image into it. This guide is not about converting a photo into a brand-new PDF file. It covers adding a JPEG into a PDF document that already exists, keeping the original layout and content intact.
Adding a JPEG image to an existing PDF can be done easily across Windows, Mac, and browser-based editors, often in a few clicks with free or low-cost PDF tools.
Table of Contents
What “Insert a JPEG into a PDF” Actually Means
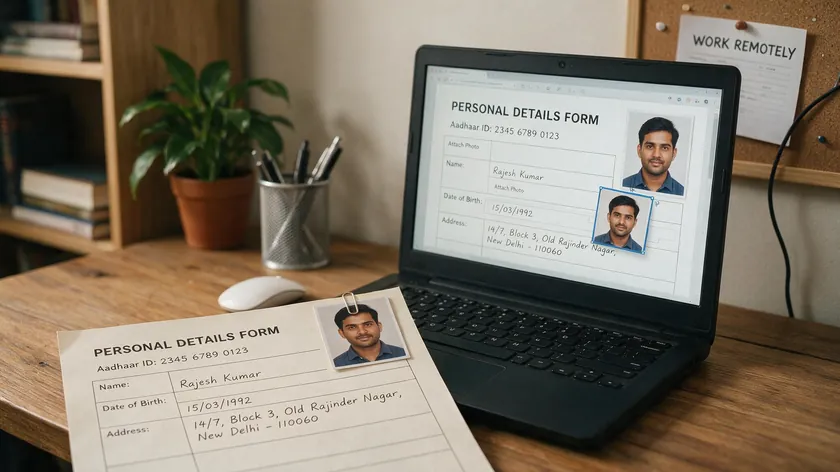
When you insert a JPEG into a PDF, you’re embedding an image file inside an existing PDF page—not creating a new document from scratch. Think of it as placing a sticker onto a printed form. The form stays the same; the sticker adds new visual elements.
Concrete examples make this clear. A student might add a passport photo to a university application form. A company might insert a logo into a contract template. A freelancer might attach a proof-of-payment screenshot to a claims document.
In every case, the original PDF content stays untouched; the image simply becomes part of the page.
Users often search for “add image,” “image to a PDF,” or “image into a PDF” when they really mean this. That’s different from “convert jpg to pdf,” which creates a brand-new pdf whose pages are images.
The process of adding a JPEG to a PDF is generally straightforward with various tools, but the distinction matters. JPEG images can be supported in PDFs alongside formats like PNG and TIFF—most PDF editing tools treat these popular image formats interchangeably when inserting.
Under the hood, the PDF stores your image as an “image XObject” per the ISO 32000 standard, referencing its width, height, color space, and compression filter.
This increases the PDF file’s size by roughly the image’s compressed weight, but it doesn’t alter the original source document (Word, PowerPoint, etc.).
A minute of preparation saves you from bloated files and blurry pictures later. Before you edit pdf content, get the image file ready.
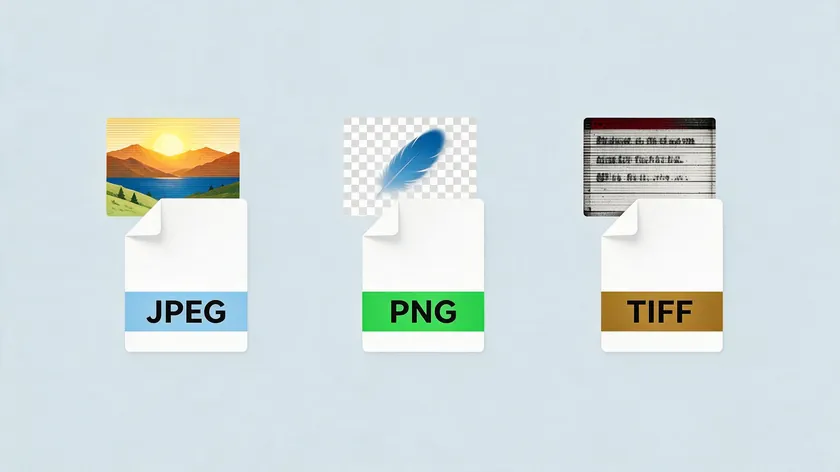
You can insert images in JPEG, PNG, and GIF formats into most editors. JPEG/JPG files work best for photos. PNG is ideal for logos or graphics needing transparency. TIFF handles high-fidelity scans, and HEIC appears on newer iPhones.
Some online editors let you edit images before converting them to PDF, which can help you refine visuals ahead of time. Many online converters support JPG, PNG, BMP, GIF, and TIFF formats if you ever need a standalone page. Most also support multiple image uploads for batch workflows.
Resolution and quality
For print, aim for roughly 300 DPI at the display size. A 600×800 pixel ID photo printed at 2×2.67 inches hits that mark. Shrink a high-resolution image file to its target dimensions before insertion, and you’ll keep image quality high without waste.
File size impact
A single smartphone JPEG can be 5–20 MB. Insert ten of those, and your 300 KB PDF balloons past 100 MB—well over typical email limits of 10–25 MB. Resize to the dimensions you actually need (e.g., 1000×1500 px) and compress to 80% quality. That small image optimization can significantly increase your control over the final file size.
How to Insert a JPEG into a PDF on Windows
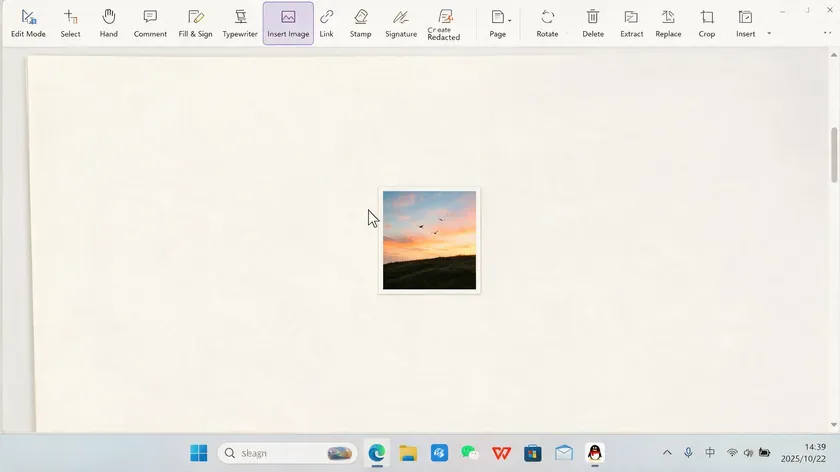
On Windows 10 or 11, you’ll typically use a dedicated PDF editor. Dedicated PDF software is best for frequent editing and higher privacy, since files stay on your device. Some free office suites also let you insert and work with images in PDF documents as an alternative.
Here’s the general walkthrough:
- Open the existing PDF file in your editor.
- Switch to the edit or “Modify PDF” mode from the main toolbar.
- Navigate to the target PDF page—scroll to page 3 of a scanned contract, for example.
- Select add image or “Insert Image” from the toolbar, then browse to your jpeg in Downloads or Pictures.
- Click to place the image at the desired location on the page.
- Use corner handles to resize while preserving aspect ratio. Simply drag to reposition.
- Rotate the image if the jpeg was scanned sideways.
- If the editor supports layering, send the image to the back so it doesn’t cover form fields or text.
- Use “Save As” to preserve the original and create an updated PDF with the added image. Check the final file size.
Microsoft Word can also be used to insert a JPEG and export it back to PDF, but this method often disturbs complex layouts—fonts shift, margins change, and tables break. If you need to create a brand-new PDF from a photo instead, see our guide to converting JPG to PDF on Windows.
How to Insert a JPEG into a PDF on Mac (Preview & Editors)
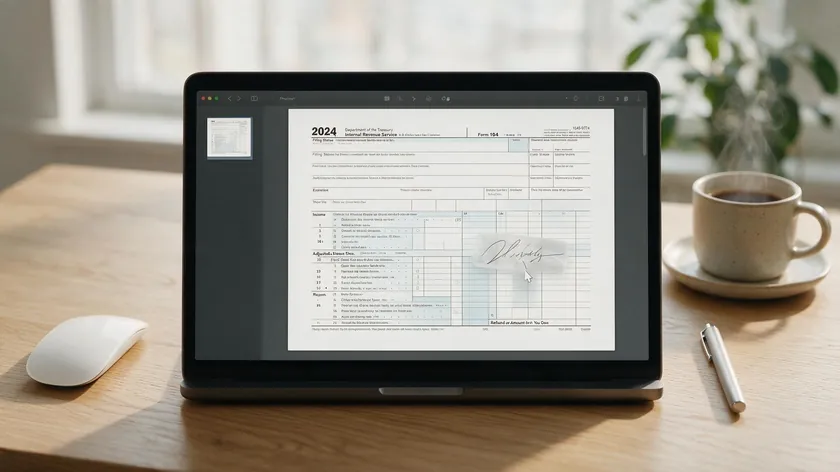
Preview on macOS allows users to insert JPEGs into PDFs effectively for simple tasks. For more advanced features, a full PDF editor mirrors the Windows process.
Using Preview:
- Open the PDF document in Preview and unlock it if editing is restricted.
- Open the jpeg in a separate Preview window. Select all (Command + A), copy (Command + C), then switch to the PDF and paste (Command + V) on the target page.
- The image appears as a movable object. Simply drag it into position—for example, placing a JPEG signature onto a tax form line.
- Resize using corner handles. Save with Command + S.
Preview has limitations: fewer editing options for opacity, precise alignment, or inserting photos across many pages. A dedicated editor on Mac offers layering controls, alignment grids, and the ability to add text boxes or form fields alongside images—completing a form in one pass.
The same JPEG, PNG, and TIFF file types are supported across Mac editors. If you need to create a new PDF from a photo instead, our Mac conversion guide covers every method.
How to Add an Image to a PDF Online in Your Browser
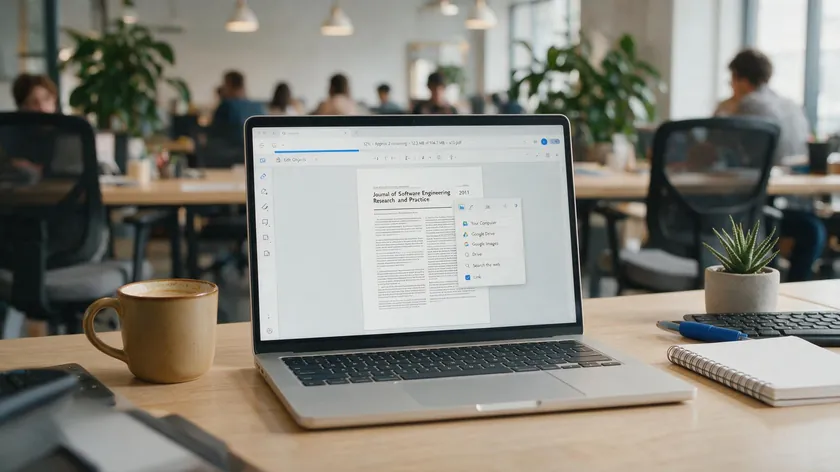
A browser-based method is ideal on shared computers or Chromebooks or when you don’t want to install software. Online PDF editors allow image insertion for one-off tasks without software installation. Simply upload your PDF, add the image, and download the result.
General flow:
- Open a reputable online tool in your browser.
- Upload your PDF document from local storage or cloud storage like Google Drive.
- Use the image tool—often labeled “Add Image” or “Insert Photo”—from the toolbar.
- Select your jpeg from your device or a cloud folder.
- Click on the PDF page to place the picture where needed. Drag to move, use corner handles to resize, and type exact dimensions for a precise layout.
- Apply changes, then download the updated PDF back to your device.
Several online platforms exist in this space. Most offer quick drag-and-drop image insertion onto PDFs directly in the browser, support resizing and repositioning the image after it’s placed, and support JPEG insertion and editing without complex setup. Some also offer an offline desktop application for users who prefer editing without a browser.
Privacy matters. Reputable online PDF tools typically encrypt uploads with TLS or SSL, publish automatic deletion timelines for uploaded files, and comply with standards such as HIPAA, SOC 2 Type II, PCI DSS, ISO 27001, or GDPR, depending on the platform. For sensitive documents, verify encryption and retention policies before you upload.
Inserting Multiple Images and Controlling Layout
This section covers placing several JPEGs onto pages of a PDF that already exists—not creating a brand-new PDF from a batch of photos. That separate scenario is covered in a dedicated guide on combining multiple images into one PDF.
Many users need to add multiple images—a series of JPEG receipts, lab results, or product photos—into a single PDF document for reporting or claims. You have two approaches:
Multiple images on one page
Arrange three or four small pictures in a collage layout. Keep standard margins (0.5 inches from edges) and avoid overlapping signatures or totals.
One image per page
Insert blank pages where needed, then place each JPEG on its own page in order—Page 5: first receipt; Page 6: second receipt.
A JPEG can be converted to become a new PDF page and combined with other files. Virtual printers can convert a JPEG into a PDF page and merge it with an existing PDF. Several free desktop tools are built specifically for merging PDF documents when you need to combine separately created pages.
Watch the file size. Twenty full-resolution smartphone photos can push your PDF past 100 MB. Pre-compress each image and use built-in PDF compression tools after insertion. PDF files retain image quality after JPG conversion when you manage compression thoughtfully.
Positioning, Resizing, and Keeping Image Quality High
Proper placement and scaling determine whether your inserted image looks professional on-screen and in print. A sloppy insert can cover critical text or look pixelated.
- Zoom to 150–200% before final placement so you can see exactly where the image sits.
- Use alignment guides if your editor shows them. Keep images away from page edges and binding punch holes.
- Resize images using corner handles only—never stretch in one direction.
- Avoid enlarging a small image beyond 150% of its original pixel dimensions. Beyond that, jagged edges and blur appear.
For print output, target roughly 300 DPI. If your image is 1200×900 pixels and placed at 4×3 inches, that’s exactly 300 DPI—sharp and clean. Some editors downsample or recompress images when saving; check the visual appeal of your final output by zooming in and, if needed, adjusting export settings.
Example: Comparing Image Settings Inside a PDF
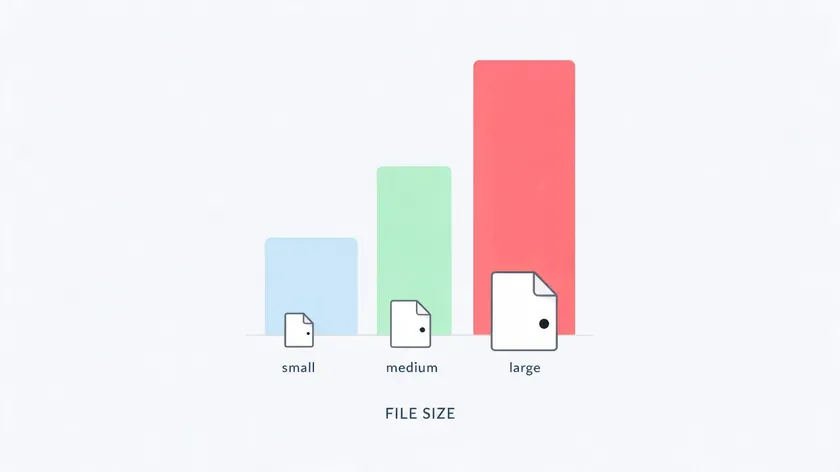
The table below shows how different JPEG settings affect the resulting PDF. These examples help you decide how aggressively to convert JPG files before insertion.
| Image Use Case | Original JPEG Size | PDF Size After Insertion (2-Page PDF, 300 KB) | Visual Result |
|---|
| Small logo (400×200 px, quality 85%) | ~100 KB | ~450 KB | Sharp edges, minimal impact |
| ID photo (600×800 px, quality 85%) | ~200 KB | ~550 KB | Clean at 100% zoom, slight softness enlarged |
| Single smartphone photo (4000×3000 px, uncompressed) | ~8 MB | ~8.5 MB | Overkill for most uses; resize first |
| 10 compressed receipts (1000×1500 px, quality 80%) | ~500 KB each | ~5.5 MB total | Readable, efficient |
| 10 full-resolution photos (12 MP each) | ~8 MB each | ~80+ MB total | Unwieldy; pre-compress to save space |
Pre-compressing images to their actual display size delivers the best balance of clarity and manageable file size.
Key Takeaways
- Inserting a JPEG into a PDF means embedding the image inside an existing document page—not converting the image into a standalone PDF file.
- You can add an image on Windows, Mac, or in any modern browser using a PDF editor, typically via an “Add Image” or “Insert Image” tool on the main toolbar.
- Prepare your JPG files first—choose the right format, resolution, and compression level—to keep both image quality and overall PDF file size under control.
- Always choose the exact page before inserting, then carefully position and resize the image so it doesn’t cover important text or form fields.
- When adding images in bulk, plan your page order and layout in advance, and consider compressing or optimizing images to prevent a bloated PDF.
If you need to convert, merge, or edit your files beyond simple image insertion, explore our PDF conversion and editing tools to handle everything from format changes to compression—all from your browser.
FAQs
Can I insert a PNG or TIFF file instead of a JPEG into a PDF?
Yes. Most PDF editing tools let you insert several image formats—JPEG, PNG, TIFF, and sometimes GIF—using the same “add image” function. PNG is often best for logos or graphics that need a transparent background, while TIFF suits high-fidelity scanned documents.
How do I insert an image into a specific page of a long PDF?
Scroll or use the page thumbnail panel to jump to the target page—say, page 27 of a 60-page report. Switch to edit mode, then run the “add image” tool. The JPEG will be placed only on the currently visible PDF page, leaving every other page untouched.
Will adding a JPEG to my PDF reduce the image quality?
The inserted jpeg initially keeps its original quality. However, some editors recompress images on save, which can introduce artifacts. Use a reasonably high-resolution source and check your editor’s export or save settings if quality seems degraded after saving.
Can I move or replace an image after I’ve already saved the PDF?
If you reopen the PDF in an editor that supports image editing, you can usually select the image object, move or resize it, delete it, or insert a new image in the same spot—without re-creating the entire document. Choose PDF editors with advanced features for the most flexibility.
Is it possible to add a clickable image (with a link) into a PDF?
Many PDF editors let you first insert photo or image content and then draw a hyperlink annotation over it. This turns the image into a clickable button that opens a web page or jumps to another section when viewed in standard PDF readers.