Most quality loss when converting JPG to PDF comes from extra compression, resizing, or wrong DPI settings buried inside your converter’s defaults – not from the pdf format itself. This guide gives you device-agnostic rules to prevent that degradation, rather than walking through a single-platform tutorial. Whether you’re preparing a print portfolio, archiving scanned documents, or just sharing photos, these principles apply everywhere.
Table of Contents
Why JPG-to-PDF Conversions Lose Quality in the First Place
Converting a jpg file to a pdf document is usually a safe operation. But hidden settings in converters and print dialogs routinely reduce image quality more than most people expect. Understanding what goes wrong is the first step to preventing it.
JPG is a lossy format by design. A jpg file uses lossy compression – typically at a 10:1 to 20:1 ratio – to maintain quality while reducing image size. That compression removes image data, especially fine textures and sharp edges. Every time you re-save a JPG at lower quality, you throw away more data permanently.
PDF is a container, not a compressor. PDF is an open standard document format that can contain text, images, and data all in one package. When a pdf converter wraps your image, it can embed it using different compression algorithms – JPEG, JPEG2000, or ZIP (lossless). Whether the converter preserves or further degrades your original JPG images depends entirely on how it handles the embedding.
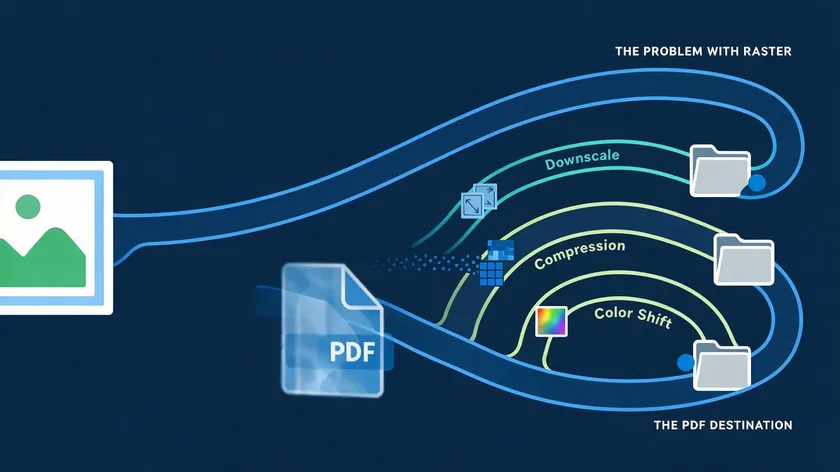
Three culprits cause most visible quality loss:
- Automatic downscaling – a 4000×3000 px image squeezed onto an A4 page at 72 DPI gets resampled, and the result looks blurry.
- Aggressive JPEG recompression inside the PDF – the converter re-encodes your image at a lower quality level (say 50–70%), introducing blocking artifacts.
- Color-space changes – converting from sRGB to CMYK can shift colors, making them look duller or washed out.
Free converters often prioritize small file size. Many free jpg to pdf tools default to strong compression and low DPI because they’re optimized for tiny file sizes, not best jpg quality. That’s why photos and scanned text often come out soft or blocky.
Quality loss in JPG to PDF conversion usually occurs due to resizing or aggressive compression – not because you chose the PDF file format. The format itself is compatible across different operating systems, and pdf files retain quality and details after conversion when settings are correct.
Device-specific guides for Windows, Mac, iPhone, Chromebook, and other platforms already exist as separate articles. This piece focuses on universal image-quality rules that apply wherever you convert jpg to pdf.
Core Settings to Preserve Image Quality During PDF Conversion
Think of this section as a checklist. Whether you’re using a pdf converter built into your operating system, a browser-based tool, or dedicated software, these are the settings you need to verify before hitting “convert” or “save.”
Resolution & DPI
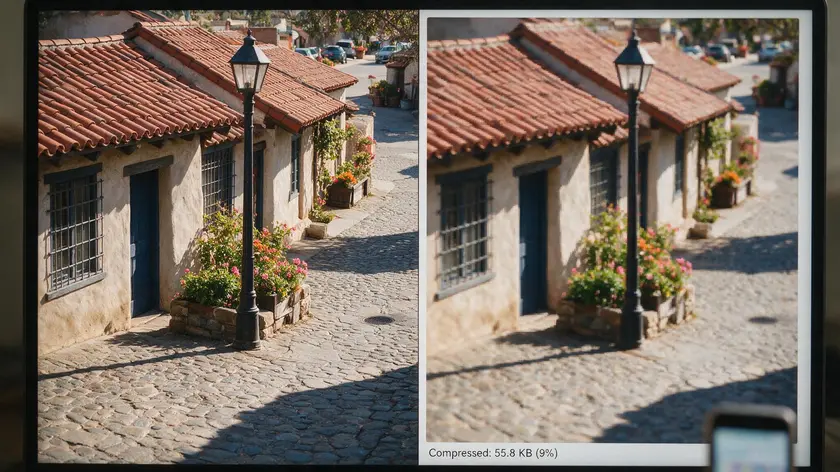
DPI (dots per inch) controls how many pixels map to each physical inch on a page. Image resolution for converting JPG to PDF should be at least 300 DPI for printing. For screen-only viewing, 150–200 DPI is usually sufficient.
Here’s where things go wrong: if your converter’s default is 72 or 96 DPI, a high-resolution jpg file will be downsampled automatically – and the image will look noticeably softer in the resulting pdf document. Look for a “do not downsample” option or set the downsample threshold above your image’s native resolution.
Page Size vs. Image Size
Matching the PDF page size to your image’s native pixel dimensions at the chosen DPI avoids unwanted scaling. For example, a 3000×2400 px image at 300 DPI fills a 10×8 inch page perfectly.
If you force that same image onto an A4 page without adjusting margins or orientation, the converter either shrinks it (losing sharpness) or stretches it (adding interpolation blur). Use custom page dimensions when your tool allows it, or select the closest standard page size and set margins to zero.
Compression Level
Most converters let you select image quality as a percentage (0–100) or a label like “low,” “medium,” or “high.” For documents where exact details matter – portfolios, artwork, scanned contracts – use high quality (90–100%). According to recent compression guides, the 90–100 range yields nearly invisible loss, while 70–85 is a reasonable compromise when file size matters.
High-quality conversion methods include avoiding settings like small file size or aggressive optimization. Ideally, converting a JPG image to a PDF means embedding the image data without heavy compression. For archival work, lossless ZIP compression inside the PDF preserves every pixel, though the resulting file will be larger.
Color Profile
sRGB is the safest default for jpg images destined for digital PDFs. Some converters force a conversion to CMYK (intended for commercial printing), which can make colors look dull or shifted on screen.
Check that grayscale or “ink saving” modes aren’t enabled by default. Unless you’re sending files to a print shop that specifically requests CMYK, stick with sRGB.
Print-to-PDF Options
On most systems, the print-to-PDF dialog offers options like “Fit to page,” “Shrink oversized pages,” and “Scale to 100%.” Opening a JPG in a photo application and printing as PDF preserves quality – but only if settings are correct. Set scale to 100%, avoid “Fit to page” when it changes aspect ratio, and choose the “for print” or “high quality” preset instead of “optimize for web.”
Built-in print or export features keep original pixel data intact when converting JPG to PDF, as long as you don’t let the dialog resize or recompress the image behind the scenes.
Here’s a quick reference table for these settings:
| Setting | What It Controls | Recommended Choice for High Quality |
|---|
| DPI / Resolution | Pixel density; affects print sharpness | 300 DPI for print; 150–200 DPI for screen |
| Page Size & Orientation | Whether the image gets scaled up or down | Match image’s native physical size; set orientation accordingly |
| Image Compression Quality | How aggressively the converter compresses embedded images | High / Maximum (90–100%); use lossless ZIP if fidelity is critical |
| Scaling / Fit Options | Whether the image is enlarged, shrunk, or distorted to fit the page | Scale to 100%; disable “Fit to page” if it alters aspect ratio |
| Color Profile | Color accuracy across devices | sRGB for digital; CMYK only if your printer requires it |
Best Practices to Convert JPG Images to a High-Quality PDF
Now let’s translate those technical concepts into practical, device-agnostic steps you can follow with almost any jpg to pdf converter. These apply whether you simply drag your image files into a desktop program or use an online tool in your browser.
Prepare Your JPG Files First
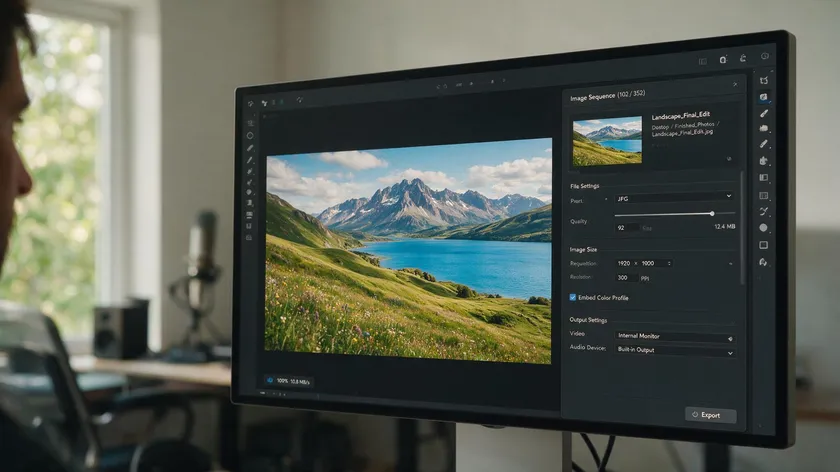
Start with original, unedited jpg files. Keep backups. If you need to crop or adjust exposure, do it once in a photo editor (or even photoshop) and export at high quality – 90–100%, with the long edge at 3000–4000 px – before you ever touch a converter.
Maximizing quality involves ensuring original JPGs remain untouched during the conversion process. Avoid re-saving the same jpg file at progressively lower quality levels; each round of lossy compression eats away at detail.
Use One Conversion Pass
Don’t convert JPG → PDF → JPG → PDF in a chain. Each time data passes through lossy compression, artifacts accumulate. Keep your original image files and convert them once into the final pdf document. If you need to edit the PDF later, edit the source images and re-export rather than extracting and re-embedding.
Match Orientation and Margins
If your image is landscape, set the PDF page layout to landscape. If it’s portrait, keep it portrait. Use small or zero margins when the goal is to fill the page completely. Some converters add white space by default – check the margins setting and customize it to avoid forcing the image to shrink.
Combine Multiple JPG Images
Multiple jpg images can be combined into a single pdf document, which is convenient for portfolios, receipts, or multi-page scans. When merging several files, make sure all images share similar resolution and orientation. Avoid tools that “equalize” everything by heavily compressing or shrinking larger image files to match the smallest one.
Rotate images before combining rather than relying on the converter to fix orientation on the fly.
Balancing File Size and Quality
Converting JPG to PDF can reduce file sizes significantly in some workflows, but the real question is when to accept a larger PDF and when to compress.
- For print portfolios, client presentations, or printing – keep DPI at 300, compression at 90–100%, and accept the larger file size.
- For casual sharing, quick previews, or web uploads – 150–200 DPI and 75–85% quality can work without obvious degradation.
- Strip metadata (EXIF, thumbnails) if you don’t need it. This trims file size without touching image quality.
The pdf format is easier to share and access across devices, so a well-made PDF often replaces the need to send a folder of individual image files. Multiple image formats – including png, jpeg, gif, and bmp – can be converted to PDF, though JPG remains the most common file type for photos.
Using trusted online utilities can also help in preserving JPG quality during pdf conversion. Some well-known converters let you control image resolution and quality directly, and several popular tools support all common operating systems and browsers. Using command-line tools can allow lossless embedding of JPG images into PDF containers, which is especially useful for batch workflows or automated pipelines.
Users who need platform-specific click-by-click instructions for Windows, macOS, iOS, Android, or Google Drive can follow separate, dedicated guides. This article stays focused on general image-quality principles.
Common Quality Problems (and How to Fix Them Quickly)
Even with the right settings, things sometimes look off. Here are the most common symptoms people see after pdf conversion – and the quickest fixes that usually solve them.
Blurry or Soft Images
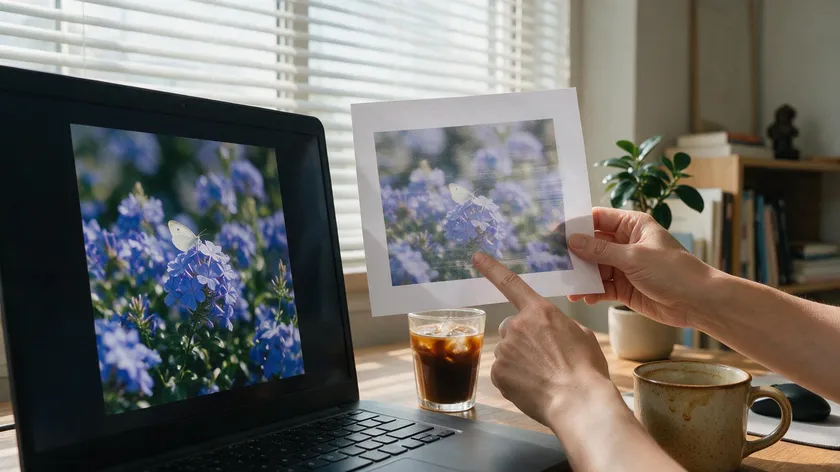
This almost always means the converter scaled or downsampled your image. Check that scaling is set to 100% and that the tool isn’t using a “low quality” or “web optimized” preset. Increase DPI in the export settings – bumping from 150 to 300 DPI often resolves softness immediately.
Text in Images Looks Jagged or Pixelated
Text inside jpg files behaves like any other pixels. If the source resolution is too low, text will look rough no matter what you do. Scan or export text-bearing images at 300 DPI or higher. Avoid upscaling small screenshots – you can’t invent detail that isn’t there. If possible, re-scan or re-export the source at higher resolution before converting.
Colors Look Washed Out or Different
Confirm your jpg images are saved in the sRGB color space. Disable forced CMYK conversion for on-screen PDFs. Turn off any “convert to grayscale” or “ink saving” options in the conversion settings. Some tools reduce color depth under certain compression modes – Prepressure’s PDF compression guide explains how different compression types handle color data.
PDF File Size Is Huge
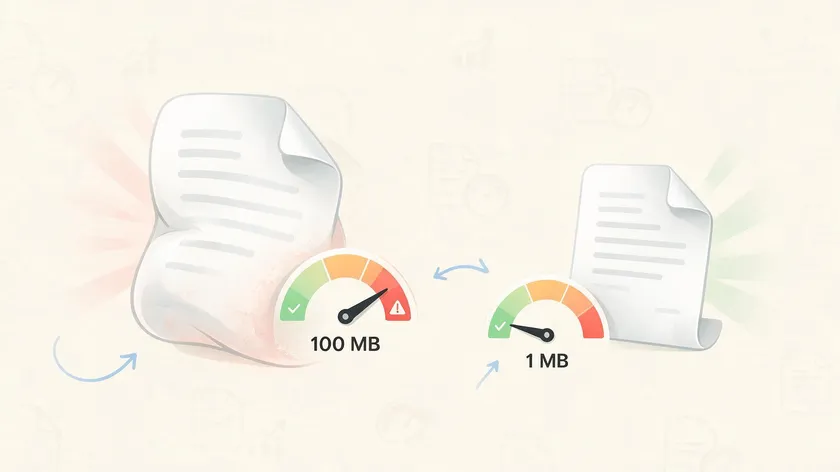
Very high DPI plus zero compression equals massive files. To reduce file size without obvious quality loss:
- Lower embedded image quality slightly – from 100% to 85–90%.
- Downsample images that far exceed 300 DPI at their intended print size.
- Remove unused pages or duplicate embedded resources.
According to industry guides, downsampling to 150 DPI with JPEG quality around 80–90 delivers significant size savings while still looking clean on screen.
Issues Across Devices
Some mobile apps or browser-based converters ignore certain settings and apply their own compression. If your PDF looks fine on one device but degraded on another, test the same conversion on a desktop system or a different tool. Browser print-to-PDF functions often default to 72–96 DPI, while dedicated desktop software typically offers higher output quality.
Your uploaded files on reputable online converters are typically automatically deleted from their servers after processing, which addresses security concerns – but always verify this on the site before uploading sensitive data.
Key Takeaways
- Quality loss when you convert jpg to pdf usually comes from extra compression, downscaling, and mismatched DPI – not from the pdf format itself.
- To preserve image quality, keep jpg images at sufficient resolution (around 300 DPI for print), disable or minimize extra compression, and match page size and orientation to the source image.
- Print-to-PDF dialogs and online converters often favor smaller file size over quality by default, so review options like scaling, “fit to page,” and image quality presets before exporting.
- Balancing file size and image quality is about smart compromises: start with high-quality jpg files, convert them once into a pdf document, and only then consider gentle optimization if the PDF is too large.
- Device-specific tutorials are best handled in separate guides; this article serves as a universal checklist that applies to any jpg to pdf conversion workflow.
If you want a straightforward, quality-focused way to convert jpg files into polished PDFs, explore our online PDF conversion tools – they’re designed to make the process simple while keeping your images sharp.
FAQs
Here are answers to related questions that come up often but weren’t fully covered above. Each answer stays practical and tool-agnostic.
Does converting JPG to PDF improve image quality?
No. Converting a jpg file to a pdf document cannot add detail that isn’t already in the original image. A PDF is a container – it can preserve or potentially degrade quality, but it will never enhance resolution or recover data lost during the initial JPEG compression. JPG files can be converted to high-quality PDFs, and pdf files retain the quality of original jpg images after conversion, but you can’t create sharpness that wasn’t there to begin with.
What resolution should I use for photos I plan to convert to PDF?
For print-focused PDFs, aim for 300 DPI. For an 8.5×11 inch page at 300 DPI, that means your source image should be at least 2550×3300 pixels. For screen-only PDFs – digital sharing, email, or web viewing – 150–200 DPI is usually sufficient. Going below 150 DPI risks noticeable pixelation, especially if the viewer zooms in.
Is PNG better than JPG for converting artwork or line drawings to PDF?
Yes, often. PNG uses lossless compression, which makes it a better file format for logos, line art, screenshots, and anything with sharp edges or flat colors. Placing a high-resolution png into a PDF keeps edges crisper than a heavily compressed jpg would. For photographic content, though, JPG at high quality remains perfectly fine.
How can I tell if my PDF has enough resolution for printing?
The simplest test: open the pdf document in your PDF viewer and zoom to 300–400%. If edges stay relatively sharp and text (if present) remains readable, the resolution is likely adequate for print. Some advanced PDF viewers also include a preflight or document inspection function that reports the actual DPI of each embedded image.
Why does my PDF look fine on screen but prints blurry?
Screens hide low DPI because they display images at smaller effective sizes – a 150 DPI image might look fine on a monitor but gets stretched across more physical inches on paper, revealing insufficient resolution. Re-export your PDF with the image set to at least 300 DPI and lower the compression level. Then do a test print on your printer before committing to a full run. You can also try selecting the “high quality print” option in your print dialog to avoid the system applying additional downsampling during printing.