Your iPhone already has everything you need to convert almost any picture to a PDF. Whether you’re working with HEIC photos, screenshots, or downloaded images, here’s exactly how to do it using Photos, Files, Notes, and more.
Table of Contents
Why Save an Image as a PDF on iPhone?
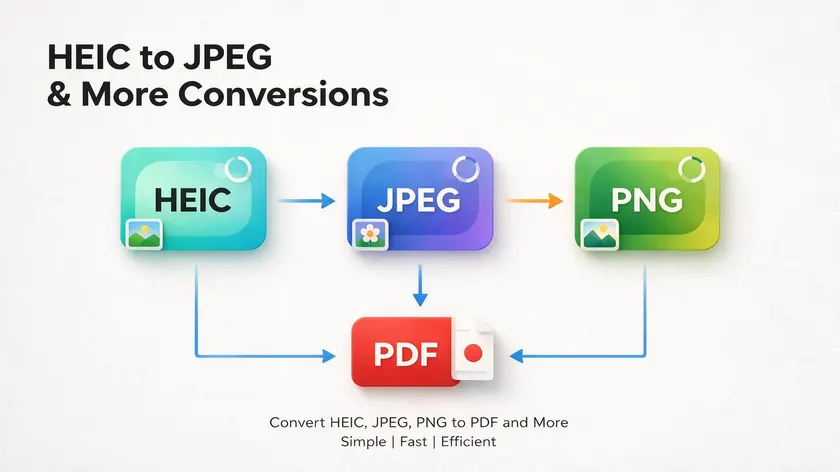
Raw image formats aren’t always ideal for sharing. A PDF file preserves layout and displays identically on Windows, Android, and macOS—unlike some image formats that can rotate, shrink, or lose formatting when shared across devices.
Common use cases include:
- Emailing multiple photos as a single attachment to HR or a client
- Submitting scanned documents like IDs or receipts
- Sending homework or multi-page forms as one PDF
- Archiving chat screenshots in an organized folder
Your iPhone captures photos in several image formats—JPEG, PNG, and HEIF/HEIC—and all of them can end up in a portable document format. You can save an image as a PDF on your iPhone without installing apps. iOS 16, iOS 17, and newer have everything required built in.
Fastest Method: Use Photos App & Print to Save an Image as PDF
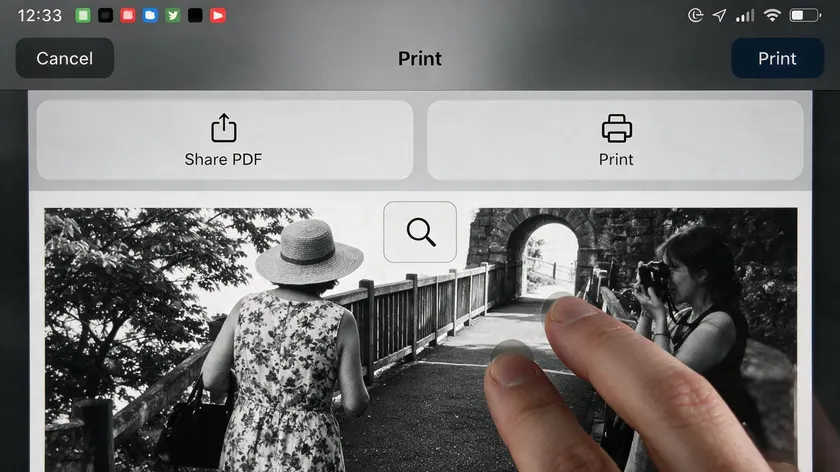
This is usually the quickest answer to “how to save image as pdf on iphone” when you have one or a few images already in your photo library. The Photos app allows direct PDF conversion on iPhone, and the print function in the Photos app creates PDFs quickly—often in seconds.
For a single image:
- Open the photos app and select the picture
- Tap the share icon
- Tap the print option
- On the print preview screen, pinch outward with two fingers to turn the preview into a pdf preview
- Tap share again, then choose save to files
- Pick a folder (iCloud Drive, On My iPhone, etc.) and tap save
That’s it—your image is now a shareable PDF. If you need to convert more than one photo at once, here’s how.
For multiple photos:
Use the Photos app to select multiple images for the PDF. Tap “Select” in your photo library, choose all the images you want, then follow the same Share → Print → pinch-out → Save to Files steps. Each selected image becomes a separate page in a single PDF.
The print trick allows converting single or multiple images to PDF. Using the print menu requires selecting the image and tapping the Share button. Your original iPhone photos remain untouched—the new PDF is a separate file.
Limitations: You can’t change margins or page size with this print method, and the page order follows the order shown in Photos when you select the images.
Use the Files App to Create PDFs from Images (Best for Multiple Photos)
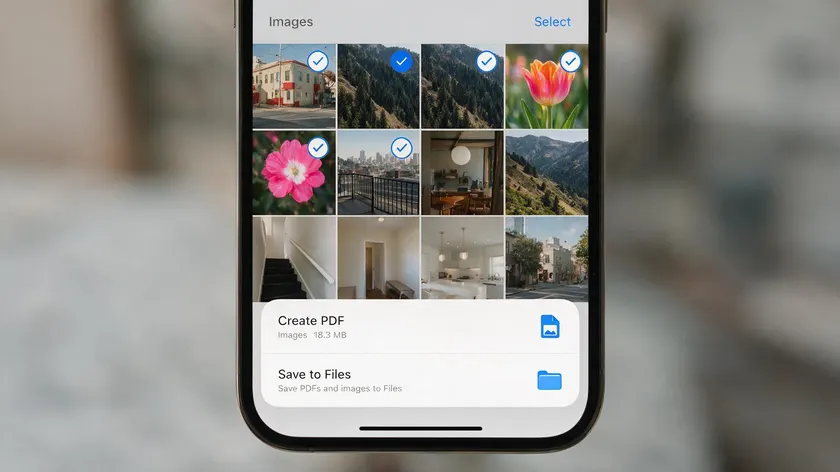
The Files app is ideal when you want to convert images already stored on your device, especially for batch conversion. The Files app can be used to convert images to PDF when they are already stored there, giving you more control over organization.
Step 1—Move photos to Files: Open Photos, tap Share, select Save to Files, and choose to save to a folder like iCloud Drive.
Step 2 – Single image conversion: Open Files, find the image, long-press it, tap Quick Actions, and then select Create PDF. Users can create PDFs from images using Quick Actions in the Files app. A new PDF with the same filename appears in the same folder. PDFs created in the Files app are saved in the same folder as the originals.
Step 3—Convert multiple images into one PDF: In the Files app, navigate to the folder, tap the three dots (“More”) button, tap Select, choose all the images, then long-press any selected file and choose Create PDF. The Files app allows creating a PDF from selected images this way. You can combine multiple images into one PDF on your iPhone easily.
Ordering tips: The combined PDF pages follow your current sort order or alphanumeric file names. Rename files with prefixes (01-, 02-, 03-) before converting if page order matters.
Format note: In some iOS versions, the Files app can create PDFs from JPEG images only—the “Create PDF” option may not appear for HEIC files. If that happens, convert pictures to JPEG first (covered below).
Scan Paper Documents to PDF with the Notes App
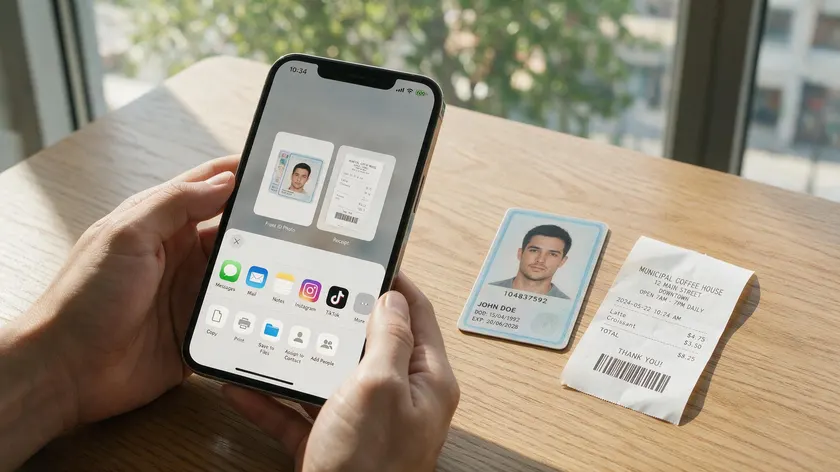
The Notes app is perfect when you need to convert a picture of a paper document, receipt, or ID into a clean, multi-page PDF file.
- Open Notes and create a new note
- Tap the camera icon, then tap “Scan Documents.”
- Frame the page—the scanner auto-captures, or you can use the manual shutter
- Adjust corners and crop if needed
- Keep scanning additional pages (e.g., a 3-page contract), then tap Save
To export: tap the scanned document inside the note, tap the share icon, and then select save to files to create a standalone PDF in your chosen folder.
Notes scanning produces higher-contrast “document style” PDFs than just photographing a page in the photos app. Filters for color, grayscale, and black-and-white help make text sharper and easier to print. Since iOS 11, all iPhones have this built-in scanner.
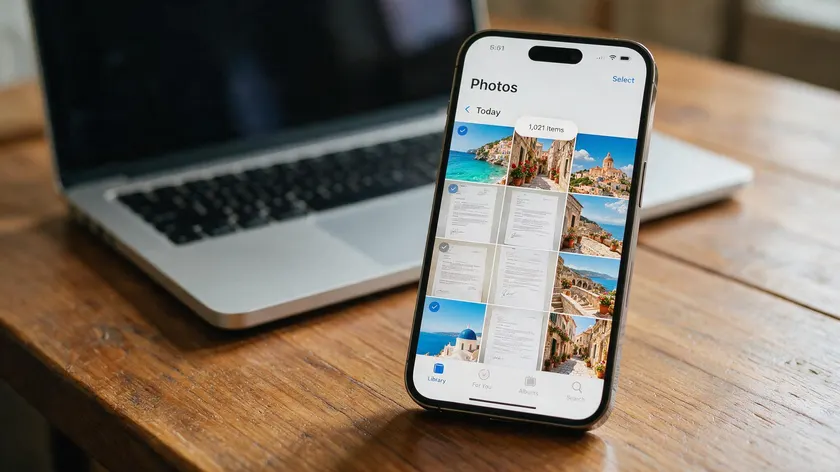
HEIC (or HEIF) is Apple’s default camera format on recent iPhones. It saves space compared to JPEG but can confuse some conversion tools that expect JPG or PNG files.
The Photos app and print method typically handle HEIC photos transparently when you convert to PDF. However, the Files app’s “Create PDF” may not appear for certain HEIC files.
Quick fixes:
- Duplicate as JPEG: In Photos, tap Share on the HEIC image, then look for “Duplicate” options to save photos as JPEG
- Camera settings: Go to Settings → Camera → Formats → select “Most Compatible” so future shots save as JPEG automatically
- Share workaround: If a particular format refuses to convert directly, open it in other apps, use Share → Save to Files, or use the print method to create a PDF preview and save it.
You can convert HEIC images to PDF by first saving them as JPEG. Besides HEIC, you can convert JPG, PNG, and TIFF to PDF on an iPhone. Screenshots (typically PNG) convert without issues through any method. If you’re working specifically with JPGs, see our dedicated guide on converting JPG to PDF on iPhone.
Power users who frequently convert photos to PDF benefit from faster workflows than repeating manual steps each time.
Shortcuts app:
Build a “Convert image to PDF” shortcut that takes selected images from your photo library, runs the “Make PDF” action, and saves the file directly to a chosen folder. One tap, done. The Shortcuts app has been built into iOS since version 12.
Online converters:
For rare or one-off tasks, open a browser like Safari, upload images to a PDF converter service, tap convert, then download the result back to Files. Best for unusual formats or images stored in cloud services.
Dedicated PDF apps with advanced features:
| App | Highlights |
|---|
| PDFApp | Free online converter with merge, compress, and organize tools—no download required |
| iLovePDF Mobile App | Allows multiple image file conversions |
| MobiPDF | Supports HEIC, JPEG, PNG, and other formats; supports combining images into a single PDF easily |
| Smallpdf Mobile App | Offers batch conversion and editing tools |
| Lumin PDF | Provides advanced editing tools including OCR |
These apps offer pro features like merging PDF documents, compressing large photo-heavy files to reduce file size, adding password protection, or running OCR on scanned documents.
Privacy note: Avoid uploading sensitive IDs or medical images to online tools. Prefer on-device conversion or trusted PDF tools instead.
Key Takeaways
- Your iPhone can convert almost any picture—including HEIC files, PNG screenshots, and JPG downloads—to PDF format without extra apps, using the Photos app, Files app, and Notes app.
- The two fastest native methods are the print option in Photos for a quick single PDF and the Files app method with “Create PDF” for better control and batch conversion. Notes is the best choice for scanning paper documents into clean multi-page PDFs.
- You can convert multiple photos into one PDF on iPhone by selecting images in either Photos or Files, and page order follows your selection or folder sort order. Handle HEIC photos that some tools don’t accept by converting them to JPEG first.
- Advanced options worth knowing about include Shortcuts for one-tap conversions and dedicated PDF tools when you need pro features like OCR, compression, or password protection.
- Always know where your new PDF documents live in the Files app so you can share, back up, or edit them later instead of hunting through random folders.
- If you work with PDFs often—receipts, schoolwork, business docs—adopt a repeatable process or automation so saving images as PDFs on your iPhone becomes a one-tap habit.
Visit PDFApp Converter Tool to merge, compress, and manage your image-based PDFs—all from your browser, on any device.
FAQs
Below are answers to common follow-up questions about converting images to PDFs on iPhone.
Where does my iPhone save the PDF after I convert an image?
Every native method ends in the files app. When you save from Photos, Notes, or Safari, you choose a folder such as iCloud Drive → Downloads or “On My iPhone.” If you can’t find your file, check the Recents tab in Files or search for “.pdf.” Browser-based converters typically save to the Downloads folder by default.
Does converting a picture to PDF reduce its quality?
iOS generally preserves the original resolution when turning a photo into a PDF, so quality stays very close to the source. If you later compress or email the PDF, some tools may downscale it. Keep an original copy if maximum detail matters, and scan documents in good light for the sharpest results.
Is there a limit to how many photos I can convert into one PDF on an iPhone?
There’s no fixed page limit, but huge batches—hundreds of high-resolution images—can slow down or crash the conversion on older devices. Keep batches to 20–50 images and merge multiple PDFs afterward using a PDF editor or the PDFApp Converter Tool.
Can I edit or rearrange pages after converting images to a PDF?
The basic Photos and Files workflows don’t let you reorder or delete pages inside an existing PDF. Arrange your images in the right order before creating the PDF, or use a dedicated PDF editor to rearrange, split, or merge pages afterward.
Will deleting the original photo delete the PDF version too?
No. PDFs created via Files, Photos, or Notes are separate files. Deleting the original photo in your photo library does not remove the PDF saved in the files app. Confirm the PDF opens correctly before cleaning up old images, especially for important documents like receipts or IDs.